
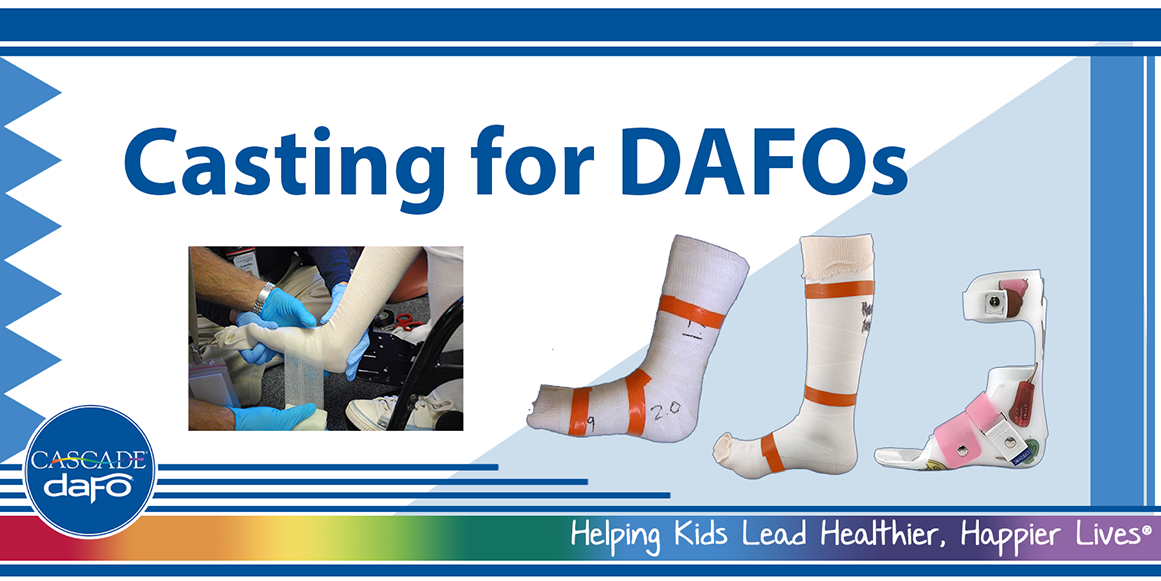
What's unique about casting for DAFOs?
|
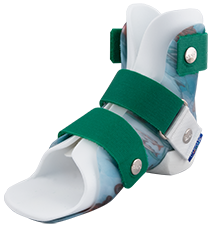
We believe the intimate contact of a thin, flexible, contoured brace, wrapping around the entire foot, provides more evenly distributed pressure for comfortable realignment than a typical rigid AFO. Creating a cast that accurately captures the desired alignment, shape, and volume of your patient's foot is the key to a well-fitting AFO. Here are a few useful tips to ensure a successful outcome for your patient. |
 |
Determining position
| When capturing your patient's best position of function, the goal is to come as close to the ideal position as possible. If their range of motion or foot and ankle structure prevents them from reaching that goal, accommodations will need to be made. Always prioritize heel alignment. If the heel slips out of vertical when the forefoot is brought to level, use a shim to support the forefoot. After the best foot position has been established, capture the ankle angle for the finished brace in your cast. | 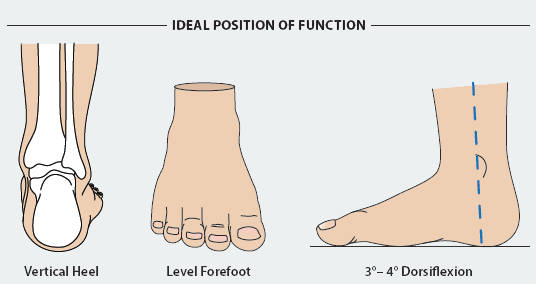 |
Rehearsal
| Before you get your casting tape, take a few minutes to rehearse with your patient. Practice correcting the foot and ankle to their best position of function. This rehearsal lets both you and your patient know what to expect during the actual casting process. | 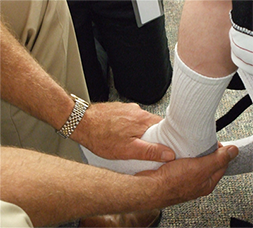 |
Wrapping the cast
|
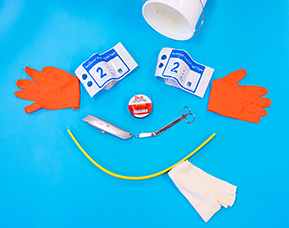
Tools needed:
|
|
|
|
| Note: When casting, we recommend using a channel buffer strip on the anterior of the leg and dorsum of the foot, extending it out past the toes and above the knee. This will give a safe channel to cut through when removing the cast from the patient. |
|||
| When you begin casting, wrap the tape snugly around the midfoot, and ease the tension as you wrap toward the toes, being careful not to squeeze them together. Swoop the tape back to the midfoot and wrap snugly, high around the ankle and low around the heel, to avoid gaps. As you wrap up the leg, wrap a little looser to accurately capture the shape and volume. | 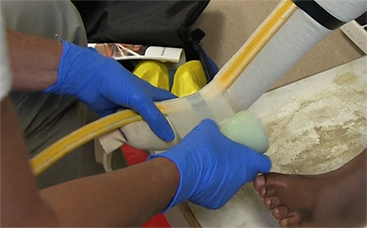 |
| For videos on how to get a successful, even wrap, be sure to check out the Cascade Institution for Course 3: Casting & Scanning for DAFOs, or check out our YouTube for How-to videos on casting for DAFOs. |
Defining the contours
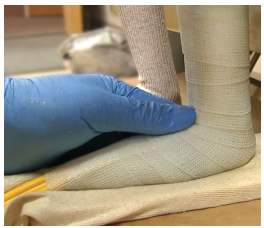
| As the tape begins to cure, use your fingers to push in and around all the key landmarks like the malleoli, met-heads, navicular, etc. To capture the plantar surface contours, consider using a casting pillow under your patient's foot. You can easily make your own with open-cell foam and cotton stockinette. |
|
Finishing touches
Once you've removed the cast from the foot, tape it closed with the edges matched up. Place the cast in open air for another 2+ hours to allow it to fully cure.
Evaluate the cast
Check your cast carefully to esnure it meets the following criteria:
- Smooth, even wrap with little distortion
- Good definition of key landmarks and plantar surface contours
- Ankle, hindfoot, and forefoot alignment at or close to the desired alignment of finished brace
- Complete coverage from toest o above finished brace height
- No distortion due to removing the cast before it has hardened
If your cast is not what you had planned, it's best to re-cast right away, while your patient is still in your office. It will only take a few minutes, and will ensure that the new cast captures the desired alignment, shape, and volume of your patient's foot, ankle, and lower leg.
Note: An accurate cast will best guarantee an intimate fit. Cast angles should be as close to the desired finished brace angles as possible.
If a cast is sent in that requests a correction of the ankle angle by 30° or more, Cascade Dafo will follow up with a call regarding brace fit.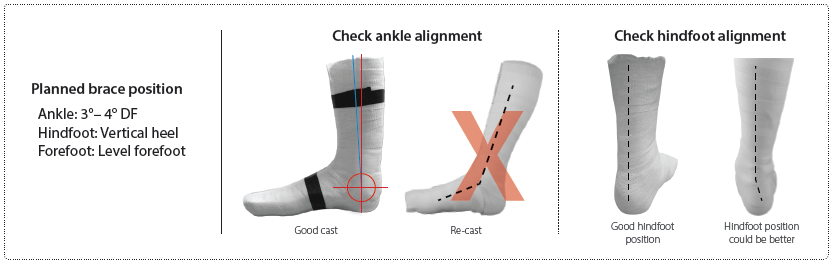
Take our course
|
For detailed casting techniques, take our free ABC-approved online course – Casting and Scanning for DAFOs – on the Cascade Institute and earn 1.5 CEUs. Through videos and interactive slides, you'll see:
|